Updating Guide
(Assumes a full install and successful operation of existing vrCAVE Library product)
Downloading the Lastest Version
-
Go to the Partner Success Portal
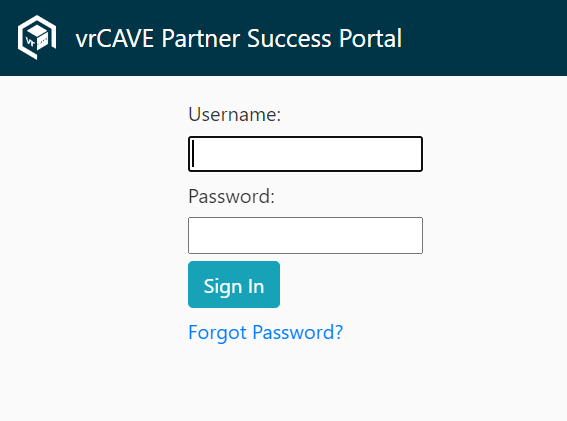
-
Log in using the Login credentials provided by VRCave
-
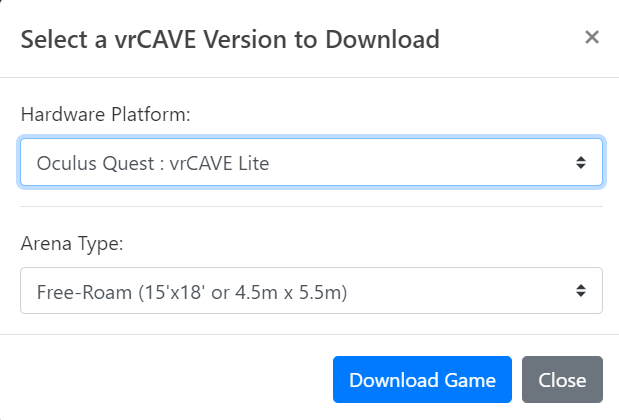
Find the “Download Latest vrCAVE Version” Button

-
Select the Download details that best describe your VR Setup
Updating to the Latest vrCAVE Library Version
The best way to ensure a clean version is to first delete the exist software folder, and replacing it with the new version
On the server computer:
-
Download the latest vrCAVE Library software and unzip the folder using the URL provided to you from vrCAVE.
-
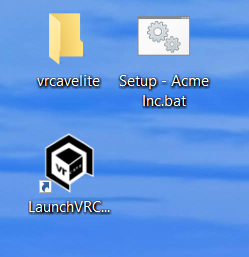
Delete the old vrcaveLite folder from the desktop
-
Unzip the new vrCAVE Library software so that the vrcaveLite folder is located on the desktop
For each Quest headset:
-
Plug the headset into the computer using a USB cable
-
Navigate to the vrcaveLiteFolder, and click into the Android_ASTC folder.
-
Double click the Install_VRcaveLibrary-arm64.bat and let the script run. You will see a progress percentage, and the window will close on it’s own when it is completed.
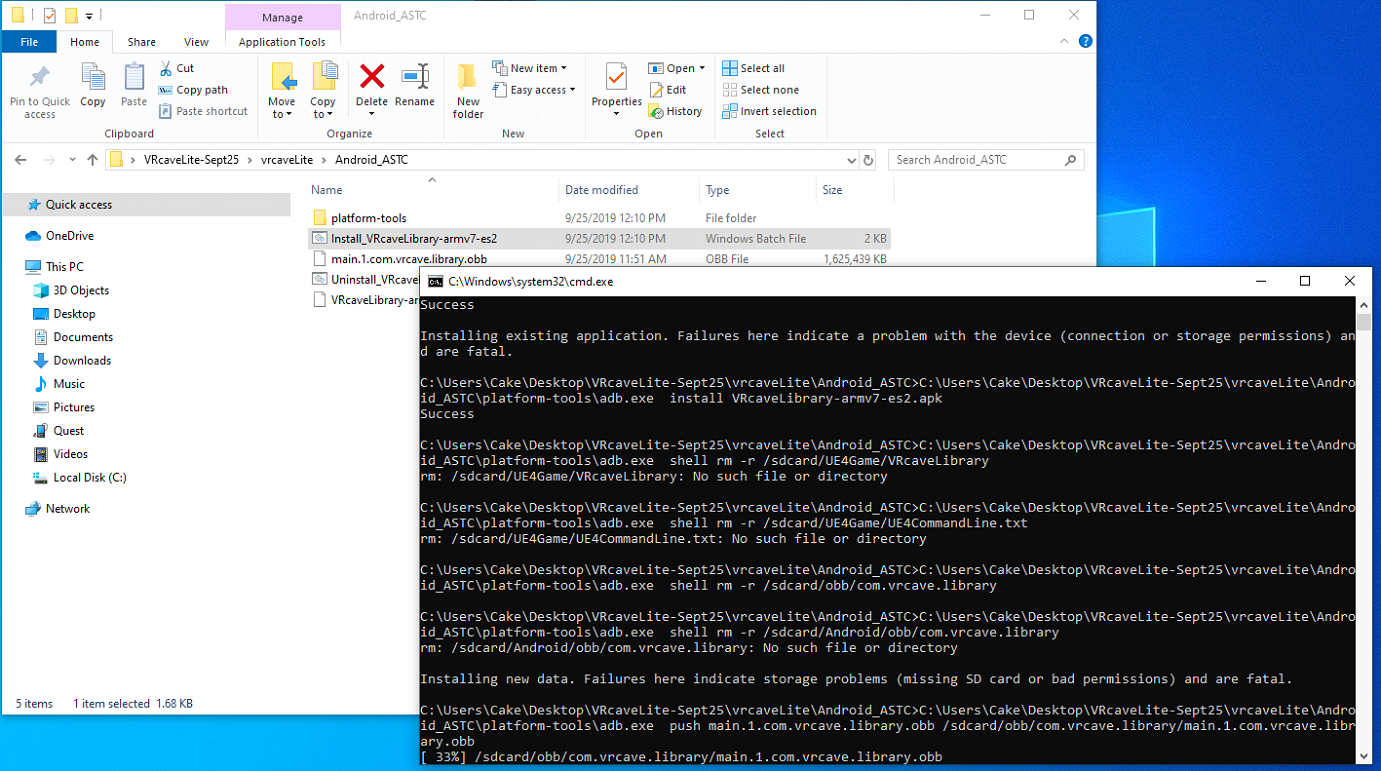
-
If it just says “-Waiting for device-“ then you may need to accept a popup inside the headset.
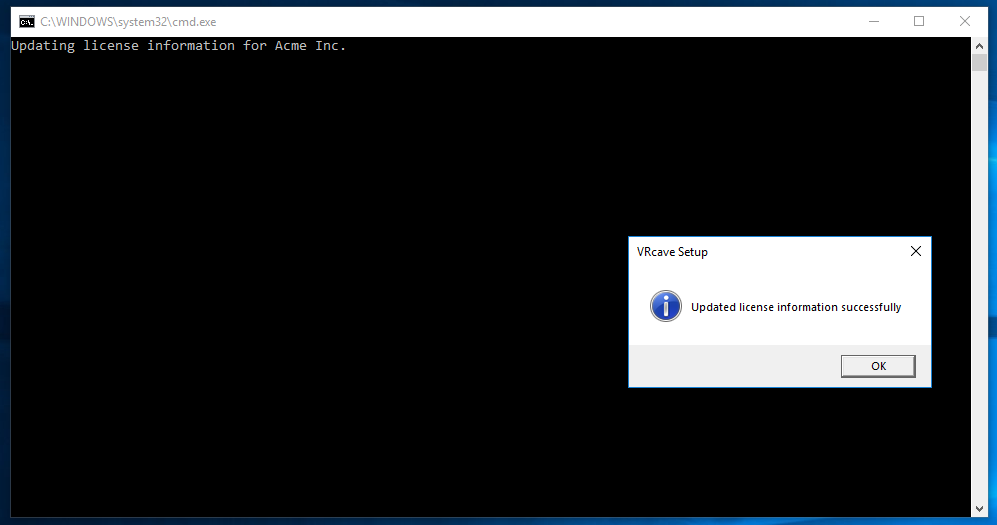
Updating your License Information
-
On the server computer, download your version of the license setup script from the URL provided to you by vrCAVE.
-
Place the .bat file on your desktop and double-click to run
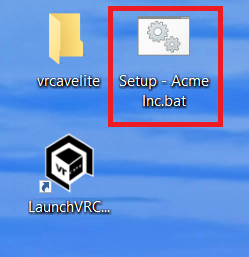
-
You should receive a message stating “Updated license information successfully”